EsoErik
Sunday, July 8, 2012
SX48P2-Deluxe & FirePro v8800 Watercooling

I like the Shuttle SX38/48 line of micro formfactor systems; they have the components and power of full tower systems and meet the requirements for carry-on luggage. Carry-on capability is crucial - only a fool would even dream of flying with a computer as checked baggage, and I fly a lot.
When I bought an SX38-P2 Pro system in 2007, I promised (promised!) myself that I would not try to water cool it. It was tempting - a QX9650 cpu and a Radeon 4870 produce a lot of heat in small areas, making them tough to cool even in a full sized case. In 2008, I took my SX38 to Norway for the summer. Airconditioning is uncommon in Norway, and my cabin doesn't have it. With 80+F ambient room temperatures, this system was passably stable only with its fans running at high speed. Even then, producing intolerable noise, it hard locked once or twice a week.
By 2011, I'd upgraded to an SX48 Deluxe, QX9770, and FirePro v8800, and planned to stay in Norway for a while again. So, I broke my oath and ordered water cooling components:
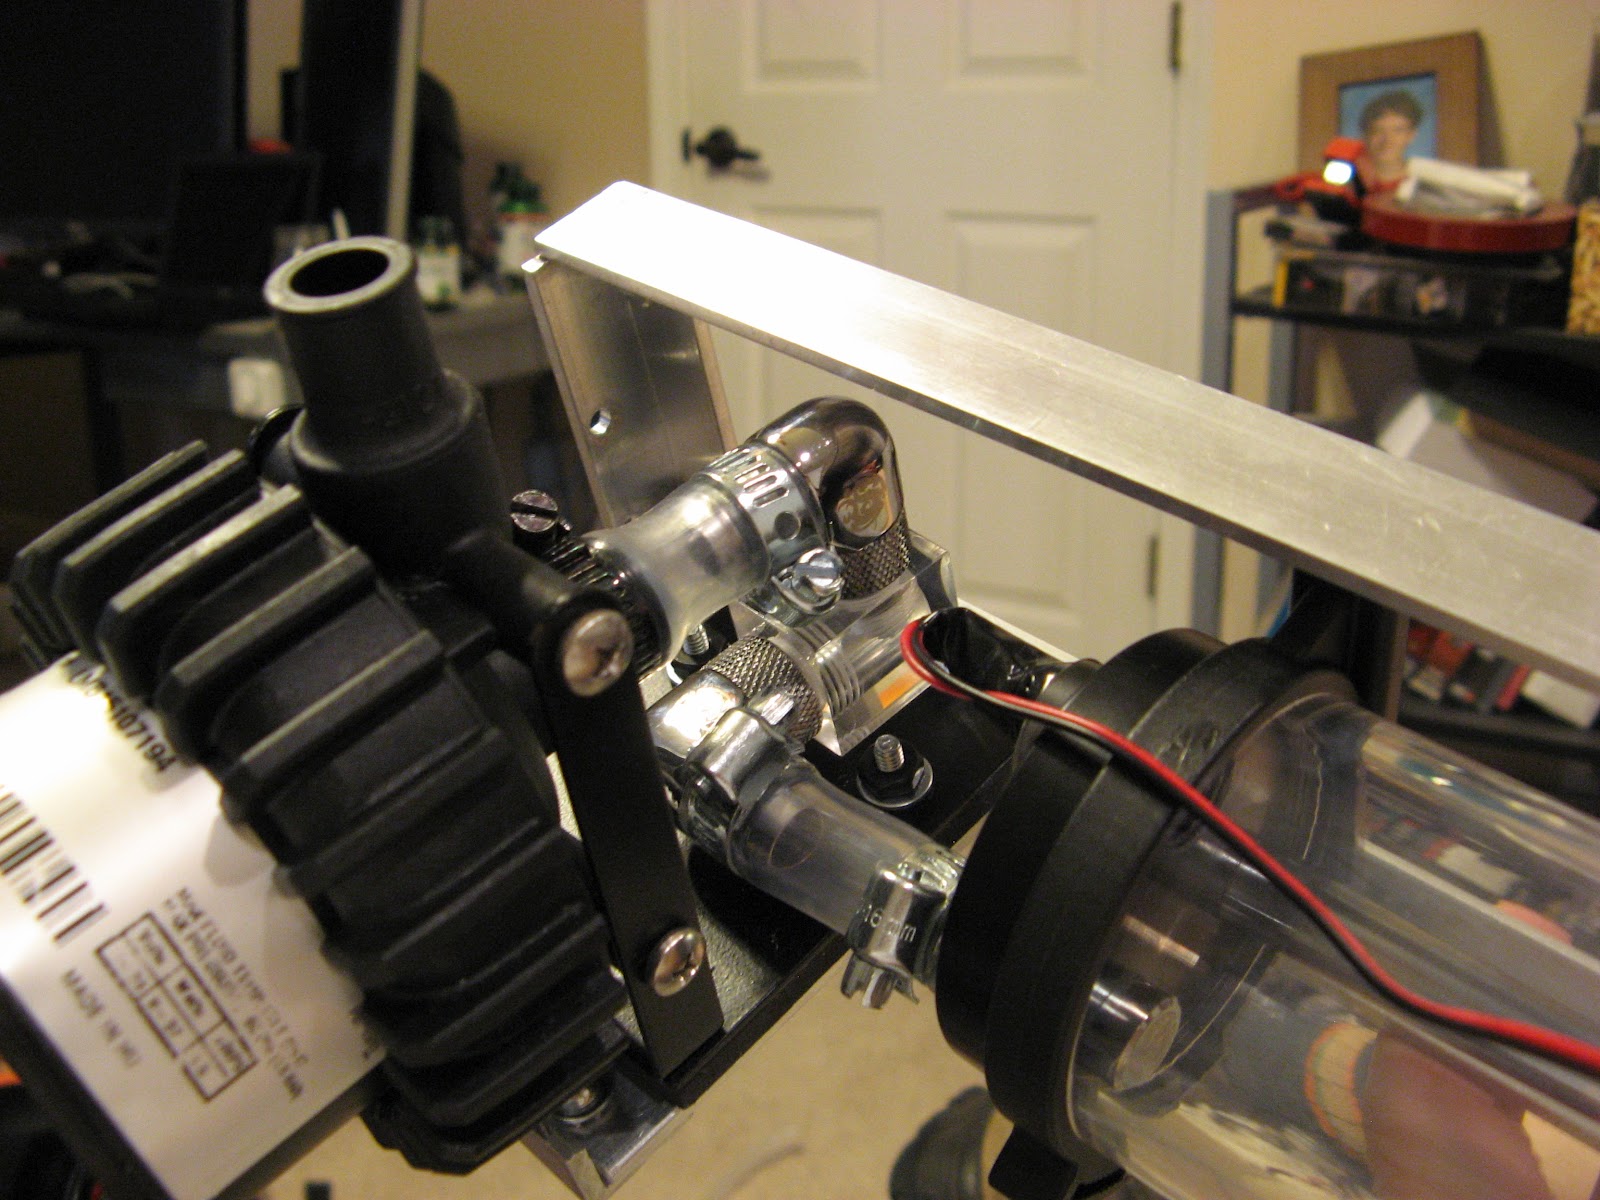
Swiftech Apogee XT Revision 2. The mounting bracket for this didn't fit and, like most of the case, ended up being replaced with aluminum stock that I machined to fit with a Dremel and a file.

Black Ice GT Stealth 240
 Swiftech MCP655
 Water Wetter - Note: I stopped using this. Don't use water wetter in a loop that has any acrylic components!
 FirePro v8800


Tygon 2375 Ultra Chemical Resistant Tubing - 3/8" ID (5/8" OD), a ton of 3/8" barbs, rotary fittings, angle barbs, hose clamps, and other miscellany.

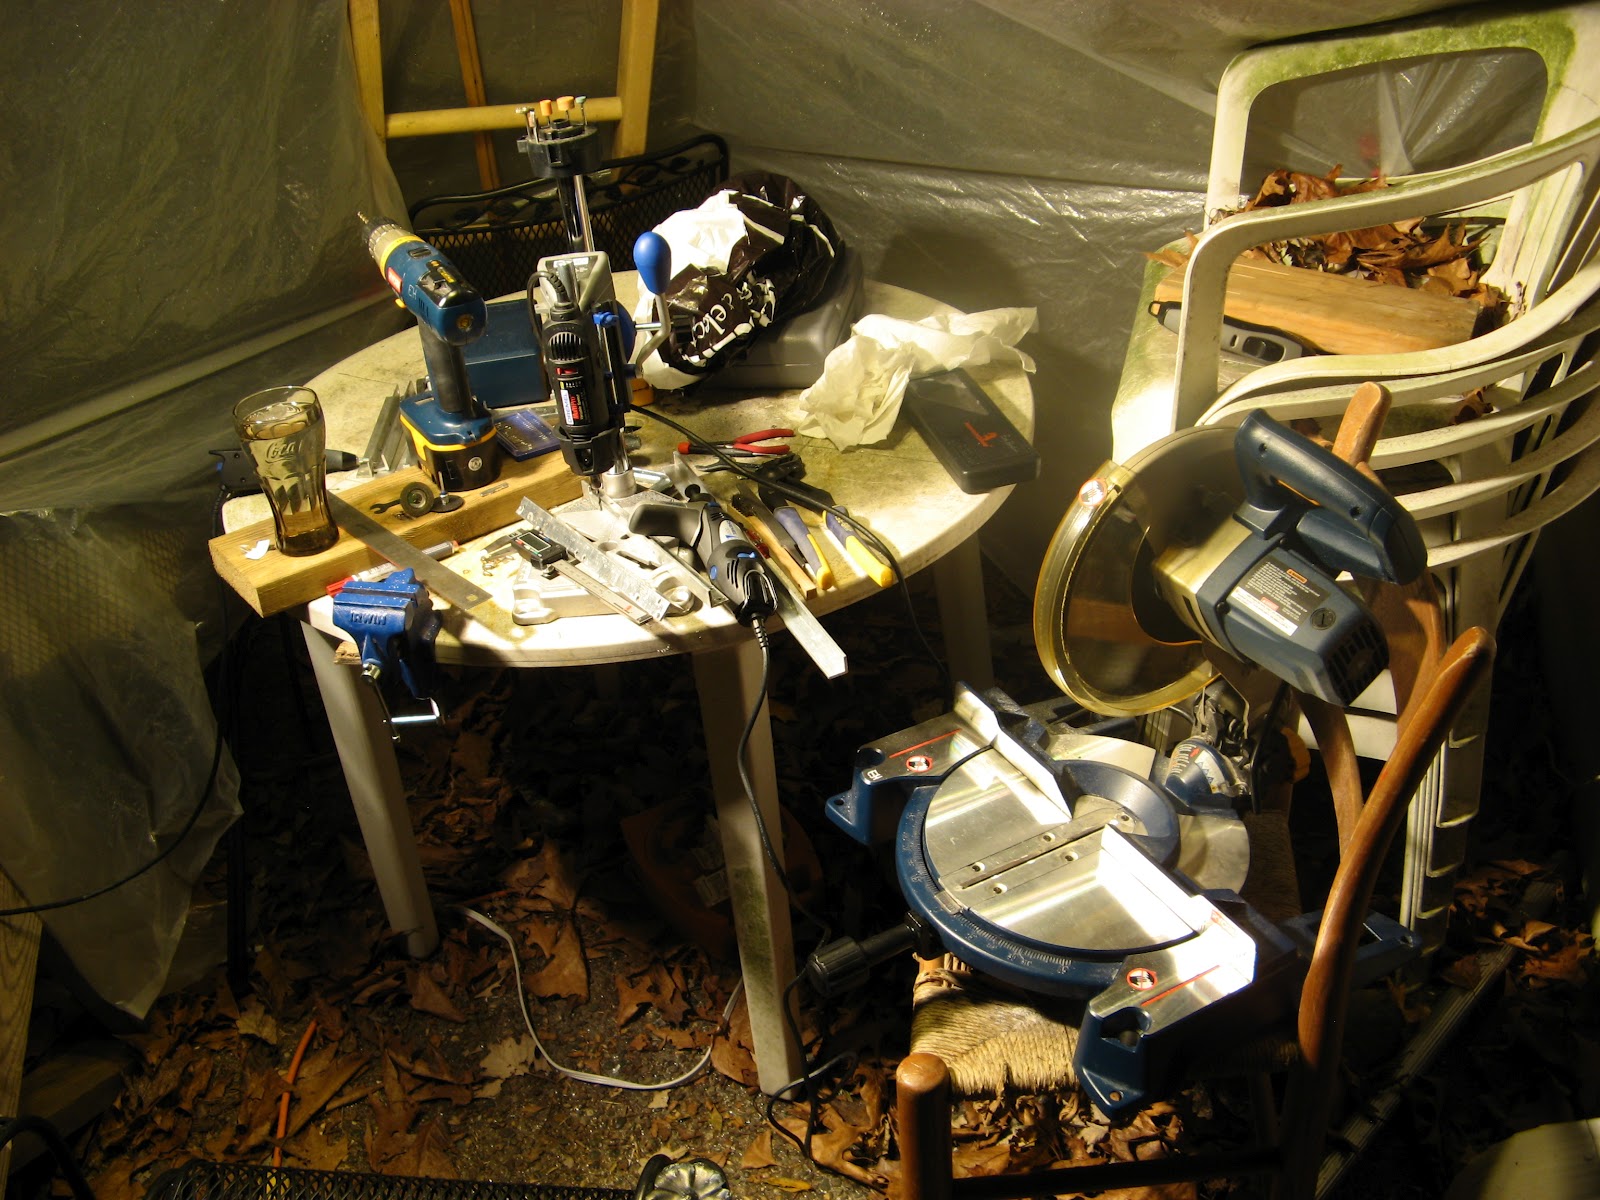
Getting started.

Fitting everything took thinking, a trip to the hardware store, and a lot of time with the Dremel, a file, drill, and digital calipers.


I decided I wanted USB3 ports and took the opportunity to refine the design a bit.


posted by Erik Hvatum # 8:35 PM 
Archives
July 2009 August 2009 September 2009 October 2009 November 2009 December 2009 January 2010 September 2010 December 2010 January 2011 February 2011 April 2011 June 2011 August 2011 February 2012 June 2012 July 2012 August 2012 October 2012 November 2012 January 2014 April 2014 June 2014 August 2014 September 2014 October 2014 January 2015 March 2015 April 2015 June 2015 November 2015 December 2015 January 2016 June 2016 August 2016 January 2017 March 2017 April 2018 April 2019 June 2019 January 2020
![]()
Subscribe to Comments [Atom]
Post a Comment